The Kenmore Mini Ultra Sewing Machine is a portable, user-friendly sewing machine designed for various sewing tasks․ It features the Ultra-Stitch system for consistent stitching and a Sew-by-Color guide for easy operation, making it ideal for both beginners and experienced sewers․ With its compact design and essential accessories, it’s perfect for crafting, mending, and creative projects․
1․1 Overview of the Kenmore Mini Ultra Sewing Machine
The Kenmore Mini Ultra Sewing Machine is a compact, portable sewing machine designed for ease of use and versatility․ It features the Ultra-Stitch system for consistent stitching and a Sew-by-Color guide to simplify operation․ With 12 built-in stitches, it’s ideal for crafting, mending, and decorative projects․ The machine includes a bobbin winding system, thread tension adjustment, and essential accessories like a foot pedal․ Its lightweight design makes it perfect for sewers of all skill levels, offering a balance of functionality and creativity for various sewing tasks․
1․2 Key Features of the Kenmore Mini Ultra Sewing Machine
The Kenmore Mini Ultra Sewing Machine boasts a range of innovative features, including the Ultra-Stitch system for precise stitching and a Sew-by-Color guide for easy thread management․ It offers 12 built-in stitches, a bobbin winding system, and adjustable thread tension․ The machine is lightweight and portable, making it ideal for crafting and mending․ Additional features include a foot pedal for control and a variety of included accessories․ Designed for both beginners and experienced sewers, it combines functionality with creativity, ensuring versatility for various sewing projects․
Setting Up Your Kenmore Mini Ultra Sewing Machine
Unpack and inspect the machine, ensuring all components are included․ Locate and identify parts like the bobbin winder and thread guides․ Plug in and power on to test functionality․
2․1 Unpacking and Initial Inspection
Begin by carefully unpacking the Kenmore Mini Ultra Sewing Machine․ Check for all included accessories like the foot pedal, owner’s manual, and bobbin winder․ Inspect the machine for any visible damage or defects․ Ensure all parts, such as the thread guides and presser feet, are accounted for․ Familiarize yourself with the machine’s exterior, locating key components like the power switch, stitch selectors, and bobbin compartment․ This step ensures everything is in working order before proceeding to setup and use․
2․2 Locating and Identifying Machine Parts
Start by identifying the key components of the Kenmore Mini Ultra Sewing Machine․ Locate the spool pins, bobbin winder, and thread guides on the top․ The stitch selector dial and power switch are on the front․ The presser foot lever is on the right, and the bobbin compartment is accessed from the front or side․ Familiarize yourself with the foot pedal and its cord․ Refer to the owner’s manual for a detailed diagram to ensure you recognize all parts, including the take-up lever and tension discs, essential for threading and operation․
2;3 Plugging in and Powering On the Machine
Plug the Kenmore Mini Ultra Sewing Machine into a grounded electrical outlet․ Ensure the outlet matches the machine’s voltage requirements․ Locate the power switch, usually found on the front or side․ Turn the switch to the “on” position and verify the machine powers up․ Check for any lights or sounds indicating it’s ready to use․ Avoid overloading the outlet with other devices․ Always unplug the machine when not in use for safety․ The foot pedal will control the sewing speed once the machine is powered on․
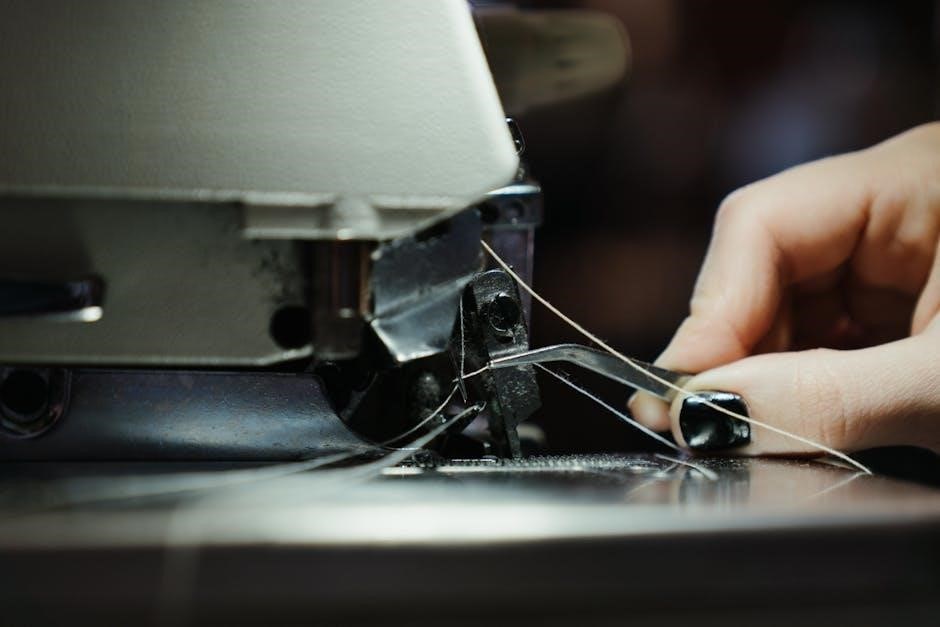
Threading the Kenmore Mini Ultra Sewing Machine
Threading the Kenmore Mini Ultra Sewing Machine involves following a step-by-step guide to ensure proper thread placement and tension․ Use the thread guide and tension disc to achieve consistent stitching․ Incorrect threading can lead to uneven stitches or machine malfunction․ Always refer to the manual for specific instructions tailored to this model․ Proper threading ensures smooth operation and high-quality sewing results for various fabrics and projects․
3․1 Step-by-Step Threading Guide
- Insert the thread into the machine’s thread guide located at the top․
- Gently pull the thread through the tension disc and take-up lever․
- Wrap the thread around the bobbin winding spindle if preparing a bobbin․
- Pass the thread through the needle’s eye, leaving a small tail․
- Turn the handwheel to lower the needle slightly, ensuring proper thread alignment․
- Adjust the tension dial if necessary for even stitching․
Follow these steps to ensure smooth threading and consistent stitching․ Always refer to the manual for specific threading recommendations․
3․2 Adjusting Thread Tension
Proper thread tension ensures even stitching and prevents fabric puckering․ To adjust, locate the tension dial on the machine․ Turn it clockwise to tighten the thread or counterclockwise to loosen it․ Test the tension by sewing on scrap fabric․ If the thread is too tight, stitches may pucker; if too loose, they may be uneven․ Refer to the manual for specific guidelines, as settings may vary depending on fabric type and stitch selection․ Always retest after adjustments to achieve the perfect balance․
3․3 Common Threading Mistakes to Avoid
Avoid threading mistakes to ensure smooth sewing․ Common errors include not following the thread guide properly, which can cause uneven stitches․ Forgetting to pass the thread through the take-up lever often leads to loose tension․ Using damaged or low-quality thread can result in breakage․ Additionally, over-tightening or twisting the thread excessively can disrupt the machine’s operation․ Always refer to the manual for the correct threading path and maintain consistent tension for optimal performance․ Correcting these issues ensures professional-looking stitches and extends the machine’s lifespan․
Bobbin Winding and Installation
Proper bobbin winding and installation are crucial for smooth sewing․ Use the correct thread type, ensure even winding, and maintain consistent tension to prevent issues․ Avoid common mistakes like overfilling or misaligning the bobbin, which can cause uneven stitches or machine jamming․ Always follow the manual’s guidelines for installing the bobbin correctly in the machine’s bobbin case to ensure optimal performance and prevent damage․
4․1 How to Wind a Bobbin Correctly
To wind a bobbin correctly, start by threading the machine and guiding the thread through the bobbin winding tension disc․ Place an empty bobbin on the bobbin winder, securing it firmly․ Hold the thread end lightly and press the foot pedal to begin winding․ Keep the thread taut but not too tight to avoid uneven winding․ Stop when the bobbin is about 80% full to prevent overfilling․ Trim the excess thread and remove the bobbin․ Ensure the thread is evenly distributed for consistent stitching․
4․2 Installing the Bobbin in the Machine
Open the bobbin compartment and locate the bobbin case․ Insert the wound bobbin into the case, ensuring the thread unwinds clockwise․ Pull the thread gently to seat it in the tension spring․ Replace the bobbin case into the machine, making sure it clicks securely․ Leave a small thread tail outside for sewing․ Close the compartment and test the tension by gently tugging the thread․ Proper installation ensures smooth stitching and prevents bobbin-related issues during sewing․
4․3 Troubleshooting Bobbin-Related Issues
Common bobbin issues include improper seating, thread tangling, or uneven tension․ First, ensure the bobbin is correctly installed and aligned in the case․ Check for loose threads or debris in the bobbin area․ If the thread is tangled, gently remove it and rewind the bobbin․ Adjust the bobbin tension if stitches are uneven․ Ensure the bobbin case is securely closed․ If problems persist, consult the manual or reset the machine․ Proper installation and maintenance are key to avoiding bobbin-related complications during sewing․
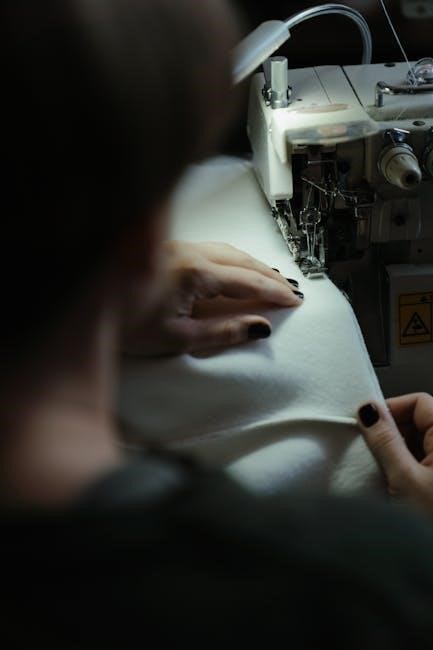
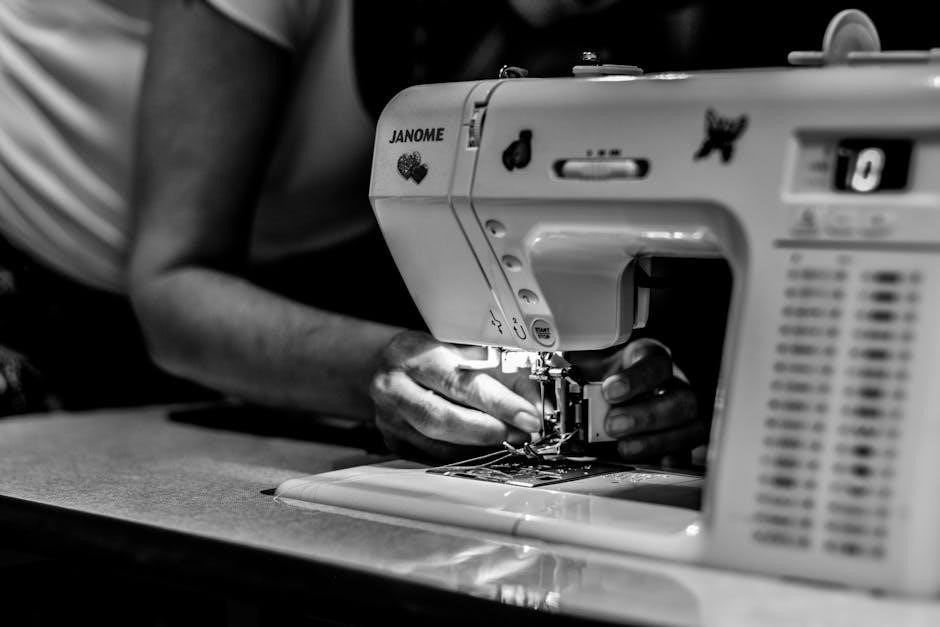
Basic Sewing Operations
The Kenmore Mini Ultra Sewing Machine offers straightforward operations for sewing, including selecting stitch types, using the foot pedal for speed control, and sewing straight lines or curves effortlessly․
5․1 Selecting the Right Stitch Type
Selecting the right stitch type is crucial for achieving professional results․ The Kenmore Mini Ultra Sewing Machine offers 12 built-in stitches, including straight, zigzag, and decorative options․ Use the Sew-by-Color guide to match thread and fabric for seamless stitching․ For general sewing, the straight stitch is ideal, while zigzag is perfect for stretchy fabrics․ Decorative stitches add elegance to projects․ Always consult the manual or stitch guide to ensure the correct settings for your fabric type and desired outcome․ This feature ensures versatility and precision for every sewing task․
5․2 Using the Foot Pedal and Speed Control
The Kenmore Mini Ultra Sewing Machine features a foot pedal for easy operation, allowing you to control sewing speed; Press gently for slower stitching and firmly for faster sewing․ The machine also includes a speed control slider, enabling you to set a consistent pace․ For delicate fabrics, use the slow speed setting, while heavier materials can handle higher speeds․ Always start with a slow pace to ensure accuracy, especially when sewing straight lines or curves․ This feature provides flexibility and control for a variety of sewing projects․
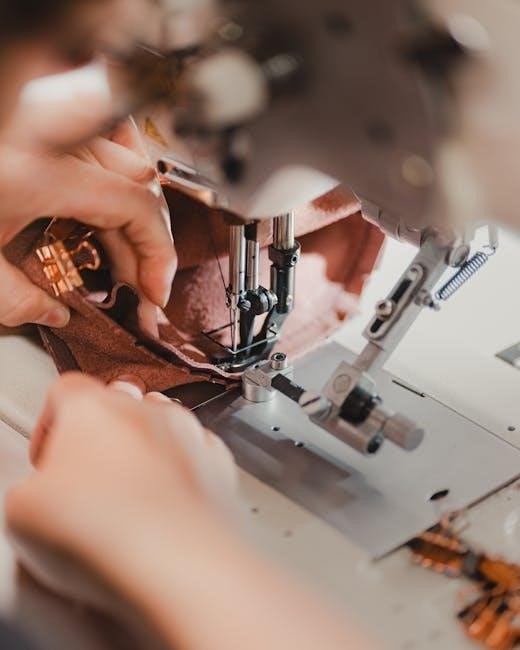
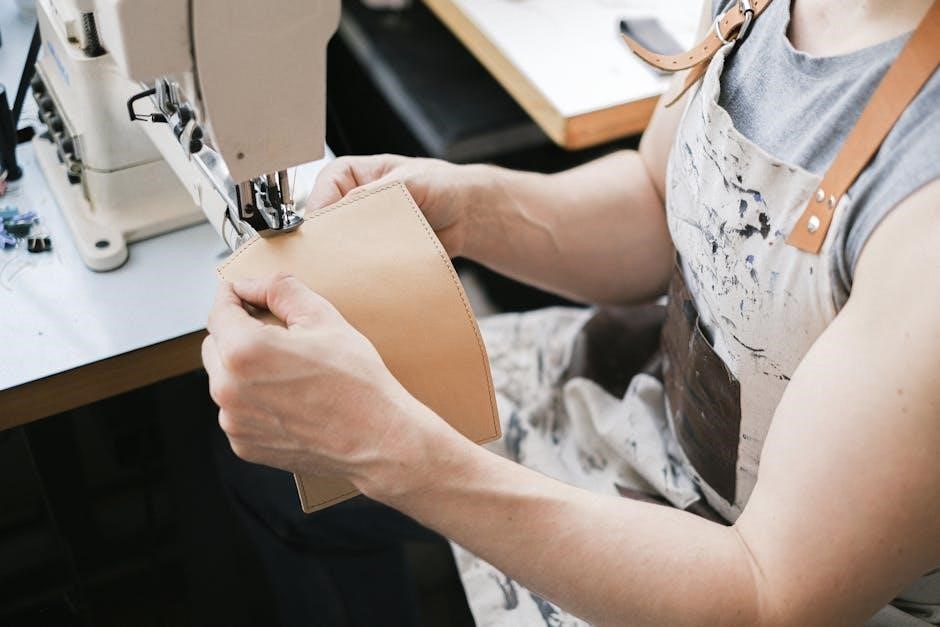
5․3 Sewing Straight Lines and Curves
To sew straight lines, align the fabric edge with the machine’s guide․ Use a steady, gentle motion to move the fabric smoothly․ For curves, guide the fabric slightly to the left or right while maintaining consistent speed․ The Kenmore Mini Ultra’s Ultra-Stitch feature ensures even stitching․ Start with straight lines to practice control, then gradually transition to curves․ Adjust the stitch length and width as needed for different fabrics․ Always keep the fabric taut but not stretched for professional-looking results․ This feature is ideal for both beginners and experienced sewers․
Advanced Features of the Kenmore Mini Ultra
The Kenmore Mini Ultra features advanced options like the Ultra-Stitch system for uniform stitching, Sew-by-Color for easy stitch selection, and decorative stitches for creative sewing projects․
6․1 Using the Ultra-Stitch Feature
The Ultra-Stitch feature ensures consistent and precise stitching, making it ideal for various fabrics and projects․ Activate it by selecting the Ultra-Stitch mode, typically found on the stitch selection dial or via a designated button․ This feature automatically adjusts stitch length and width for uniform results․ It’s particularly useful for delicate fabrics, heavy-duty materials, and decorative sewing․ The Ultra-Stitch feature enhances the machine’s versatility, allowing users to achieve professional-quality seams with minimal effort․ It’s a standout option for both beginners and experienced sewers looking to elevate their projects․
6․2 Sew-by-Color Feature Explanation
The Sew-by-Color feature simplifies stitching by using a color-coded guide to recommend thread and stitch settings based on fabric color․ This innovative tool helps users achieve harmonious results by suggesting optimal stitch types and thread hues․ It streamlines the sewing process, reducing guesswork and ensuring a polished finish․ Ideal for both beginners and experienced sewers, the Sew-by-Color feature enhances creativity while maintaining professional-quality outcomes․ This feature is particularly useful for decorative stitching and custom projects, making it a standout aspect of the Kenmore Mini Ultra Sewing Machine․
6․3 Decorative Stitches and Their Applications
The Kenmore Mini Ultra Sewing Machine offers a variety of decorative stitches, including straight, zigzag, and blind hem stitches․ These stitches are perfect for embellishing fabrics, creating intricate designs, and adding personal touches to projects․ Use the zigzag stitch for securing seams on stretchy fabrics or for decorative edging․ The blind hem stitch is ideal for invisibly hemming pants and skirts․ Decorative stitches can also be used for quilting, embroidery, and home decor projects, allowing users to explore their creativity and enhance their sewing with professional-looking finishes․
Maintenance and Troubleshooting
Regular cleaning and lubrication ensure smooth operation․ Troubleshoot common issues like thread jams or uneven stitches by checking tension and alignment․ Refer to the manual for solutions․
7․1 Cleaning the Machine Regularly
Regular cleaning is essential for maintaining the Kenmore Mini Ultra Sewing Machine’s performance․ Turn off and unplug the machine before cleaning․ Remove the needle plate, presser foot, and bobbin to access the interior․ Use a soft-bristled brush or lint brush to sweep away dust, lint, and thread fragments from the bobbin area and feed dogs․ Dampen a cloth with water, but avoid harsh chemicals, to wipe down the exterior․ Ensure all parts are dry before reassembling to prevent rust or damage; Regular cleaning prevents thread jams and ensures smooth stitching․
7․2 Lubricating Moving Parts
Lubricating the Kenmore Mini Ultra Sewing Machine’s moving parts ensures smooth operation and prevents friction damage․ Apply a few drops of sewing machine oil to the hook area, take-up lever, and other metal components․ Avoid over-lubrication, as excess oil can attract lint and dust, leading to mechanical issues․ Use a clean cloth to wipe away any excess oil․ Regular lubrication maintains the machine’s performance and extends its lifespan․ Always refer to the manual for specific lubrication points to ensure proper maintenance․
7․3 Common Issues and Their Solutions
Common issues with the Kenmore Mini Ultra Sewing Machine include thread bunching or breaking, which can be resolved by checking thread tension and ensuring proper threading․ If the bobbin doesn’t wind correctly, ensure it’s seated properly and the thread is guided through the tension disc․ For machine jamming, re-thread the machine and check for fabric bunching․ Regular cleaning and lubrication can prevent many issues․ Always refer to the manual for troubleshooting steps or seek professional assistance if problems persist․ Proper maintenance ensures optimal performance and longevity of the machine․
Accessories and Attachments
The Kenmore Mini Ultra Sewing Machine comes with essential accessories like a bobbin winder, mini screwdriver, and presser feet․ Optional attachments expand its functionality for diverse sewing tasks․
8․1 Essential Accessories for the Kenmore Mini Ultra
The Kenmore Mini Ultra Sewing Machine includes essential accessories to enhance your sewing experience․ These include a bobbin winder for easy thread winding, a mini screwdriver for machine adjustments, and a rubber ring to prevent thread slippage․ Additionally, it comes with a set of presser feet, such as the zigzag foot, for various fabric types and stitching needs․ These accessories ensure versatility and convenience, allowing you to tackle a wide range of sewing tasks efficiently․
8․2 Using Presser Feet for Different Fabrics
The Kenmore Mini Ultra Sewing Machine comes with interchangeable presser feet, each designed for specific fabrics․ The zigzag foot is ideal for stretchy or delicate fabrics, while the blind hem foot is perfect for sewing hems․ A walking foot can be used for thick or layered fabrics, ensuring smooth movement․ Always match the presser foot to your fabric type for optimal results․ This ensures even feeding, prevents bunching, and maintains consistent stitch quality, making your sewing projects look professional and polished․
8․3 Optional Attachments for Expanded Functionality
The Kenmore Mini Ultra Sewing Machine offers optional attachments to enhance its capabilities․ An overlock foot allows for professional-style seam finishing, while a quilting extension table provides extra workspace for larger projects․ Additional presser feet, such as a zipper foot or buttonhole foot, can be purchased for specialized tasks․ For decorative stitching, an embroidery hoop attachment is available, enabling intricate designs․ These optional attachments expand the machine’s versatility, making it suitable for a wide range of sewing and embroidery projects, from quilting to fashion sewing․
Sewing Machine Safety Tips
Always keep loose clothing tied back and avoid sewing over fingers․ Place the machine on a stable surface and keep children away․ Turn off the machine when not in use and unplug it for maintenance․ Ensure proper ventilation and avoid sewing near flammable materials․ Regularly inspect cords and plugs for damage to prevent accidents․
9․1 General Safety Precautions
Always prioritize safety when using the Kenmore Mini Ultra Sewing Machine․ Keep loose clothing and long hair tied back to avoid entanglement․ Ensure the machine is placed on a stable, flat surface․ Avoid sewing over fingers or near flammable materials․ Keep children and pets away while operating the machine․ Never touch electrical components with wet hands․ Regularly inspect the power cord and plug for damage․ Unplug the machine during maintenance or when not in use․ Proper ventilation is essential to prevent dust buildup․ Follow these precautions to ensure a safe and enjoyable sewing experience․
9․2 Avoiding Accidents While Sewing
To prevent accidents, always keep fingers away from the needle and presser foot while sewing․ Use the needle guard or finger guard if available․ Never sew with loose jewelry or unrestrained long hair․ Keep the sewing area well-lit to maintain clear visibility․ Avoid sewing when fatigued or distracted․ Ensure the machine is unplugged during repairs or adjustments․ Use the foot pedal carefully to control stitching speed․ Never force fabric through the machine, as this can cause needle breakage or injury․ Always follow the manual’s guidelines for safe operation․
9․3 Storing the Machine Safely
Store the Kenmore Mini Ultra Sewing Machine in a dry, cool place to prevent moisture damage․ Use a hardcover case or protective cover to shield it from dust and scratches․ Ensure all accessories are securely stored in their compartments or a separate pouch․ Unplug the machine and wind any exposed thread to avoid tangles․ Avoid stacking heavy objects on top of the machine․ Regularly clean the machine before storage to maintain its condition․ Refer to the manual for specific storage recommendations to prolong the machine’s lifespan and ensure optimal performance when reused․
The Kenmore Mini Ultra Sewing Machine offers versatility and ease for sewers of all skill levels․ Its features and portability make it ideal for creative projects and repairs․ With proper care and use, it provides lasting performance, ensuring countless hours of sewing enjoyment and satisfaction․
10․1 Final Tips for Getting the Most Out of Your Kenmore Mini Ultra
Regularly clean and lubricate your machine to maintain optimal performance․ Experiment with decorative stitches for unique projects․ Keep the user manual handy for quick reference․ Store accessories in a dedicated case to avoid loss․ Use high-quality threads and fabrics for professional results․ Always unplug the machine when not in use for safety․ Attend sewing workshops or watch tutorials to explore advanced techniques․ By following these tips, you’ll maximize the potential of your Kenmore Mini Ultra and enjoy a rewarding sewing experience․
10․2 Encouragement to Explore Creative Sewing Projects
Unleash your creativity with the Kenmore Mini Ultra Sewing Machine! Start with simple projects like pillowcases or baby blankets, then progress to quilting or embroidery․ The Ultra-Stitch and Sew-by-Color features make it easy to achieve professional results․ Experiment with decorative stitches for unique designs․ Whether crafting gifts, upcycling clothes, or creating home decor, this machine empowers you to bring your ideas to life․ Don’t be afraid to try new techniques—every project is an opportunity to learn and grow as a sewer․